Standex CRM Web

HomeFAQStandex CRM Web
00. General tips – Enable Two-factor authentication (2FA)

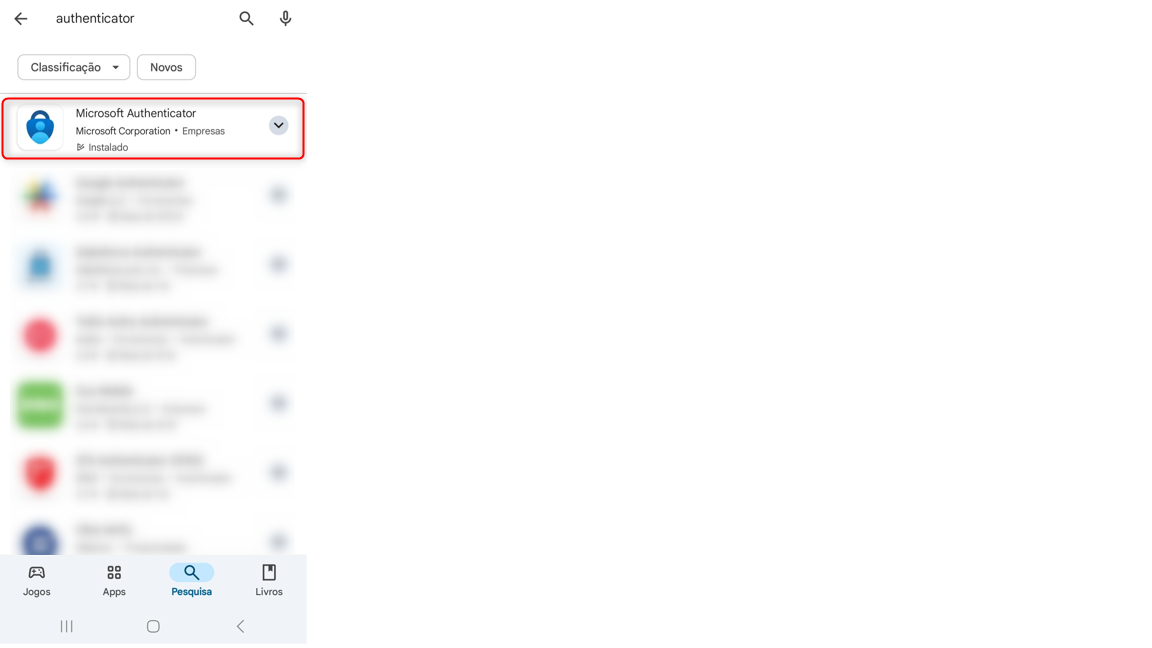
First, you need to download the Microsoft Authenticator app, available on the App Store and Play Store.

Next, log in to SBI and navigate to your user area.

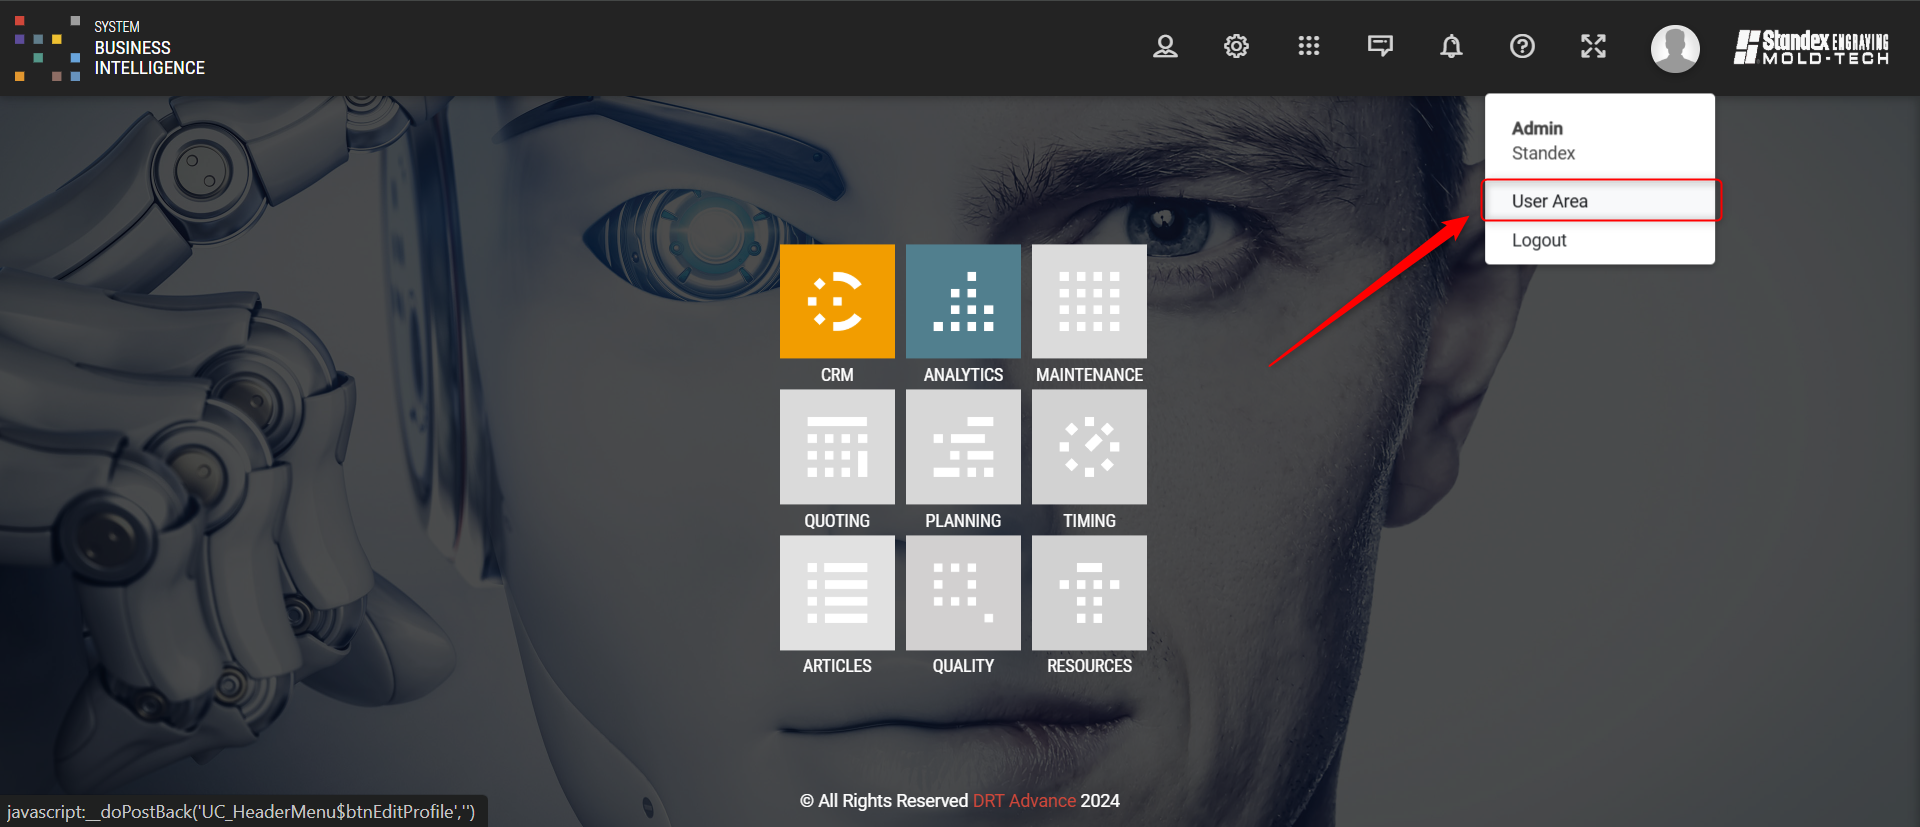
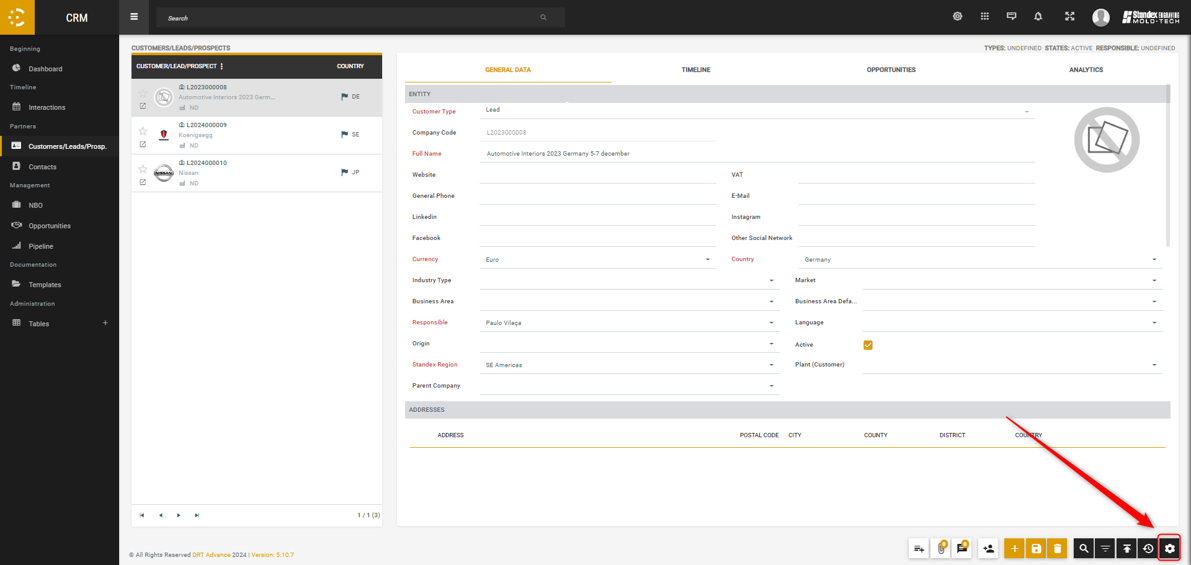
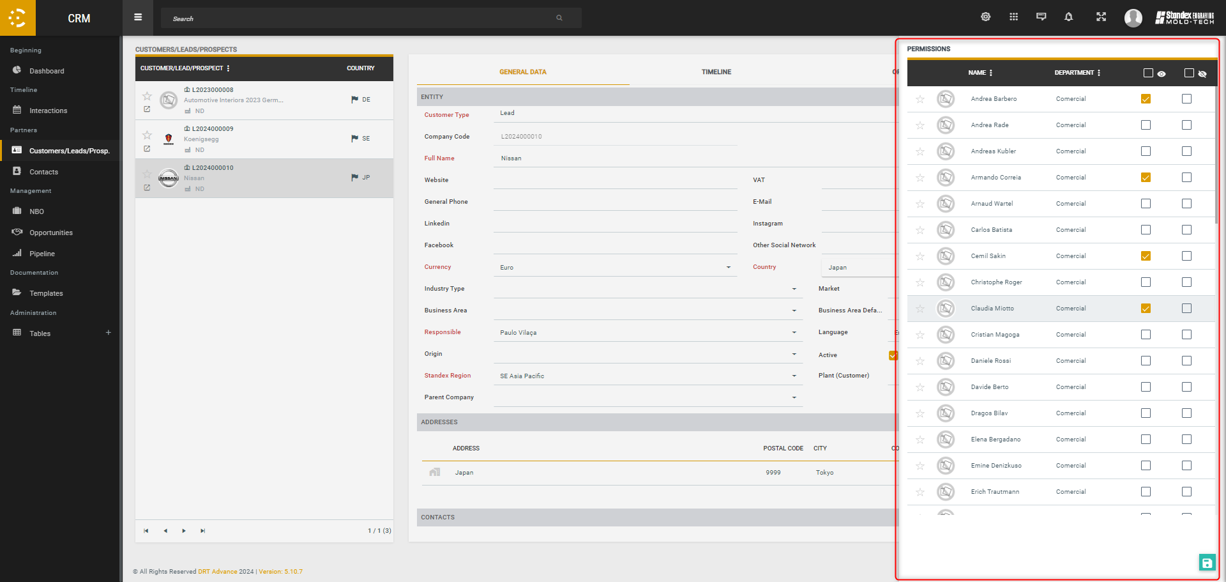
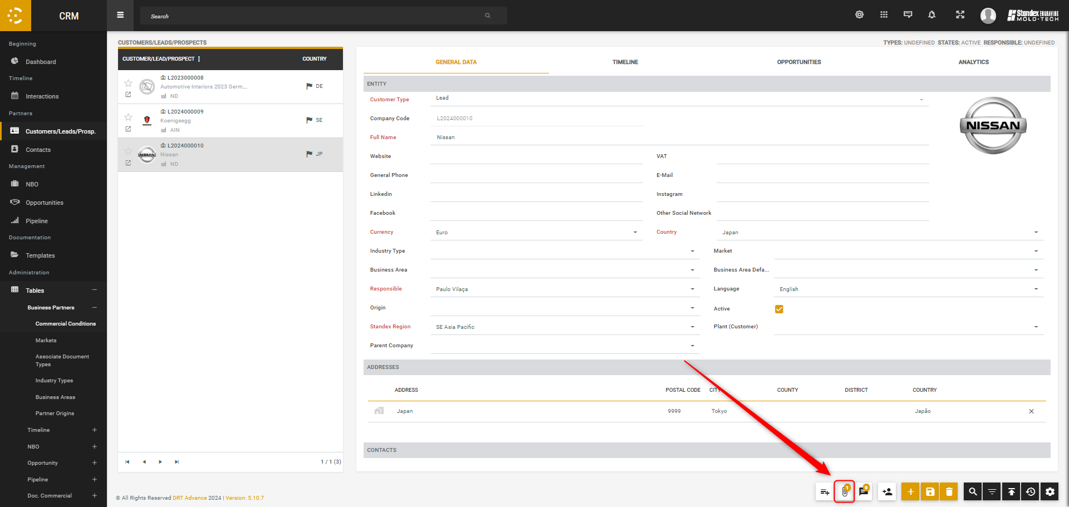
Access your user area and click on the 2-Factor Authentication icon. This will open a slider for activating 2-Factor Authentication. To complete the activation, follow these steps:
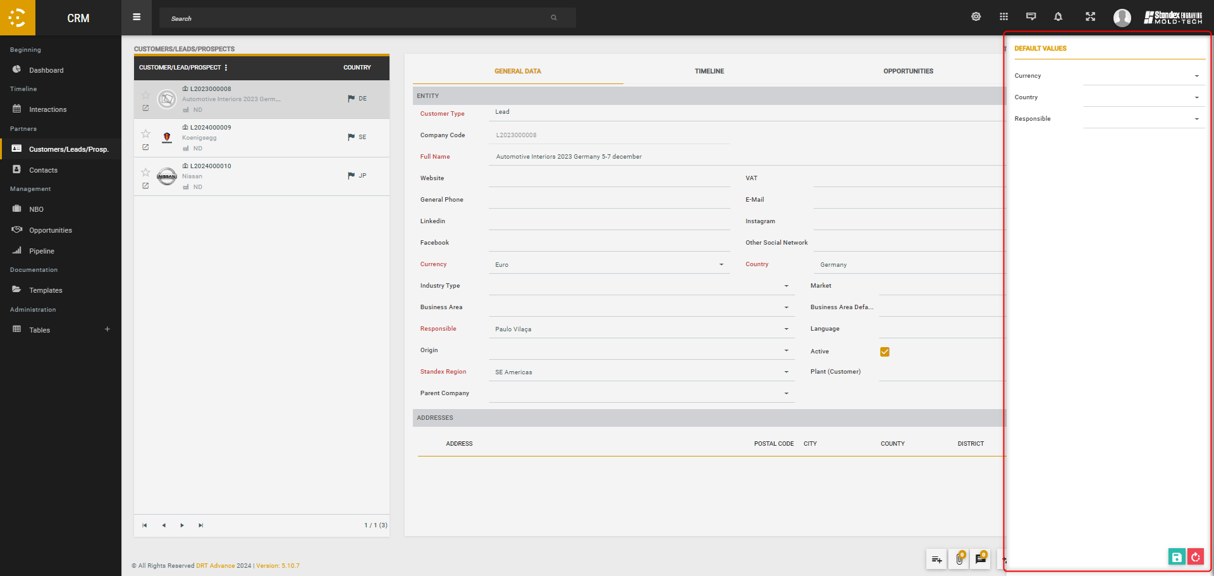
  1. Click on Active.
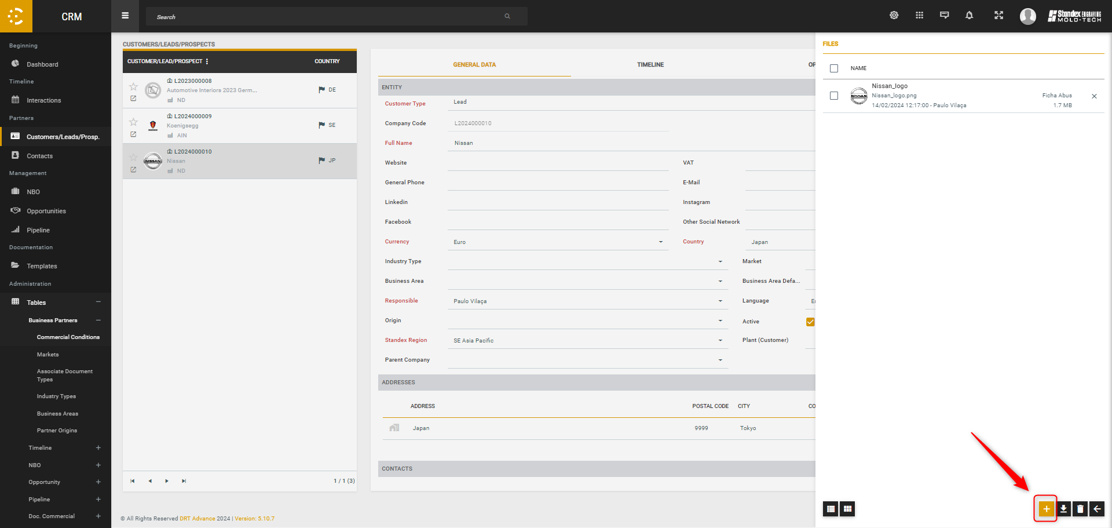
  2. Open the Microsoft Authenticator app, select the Verified IDs option, and scan the QR Code provided by SBI.
  3. Enter the code generated by the authenticator into the SBI system.
  4. Click Save.

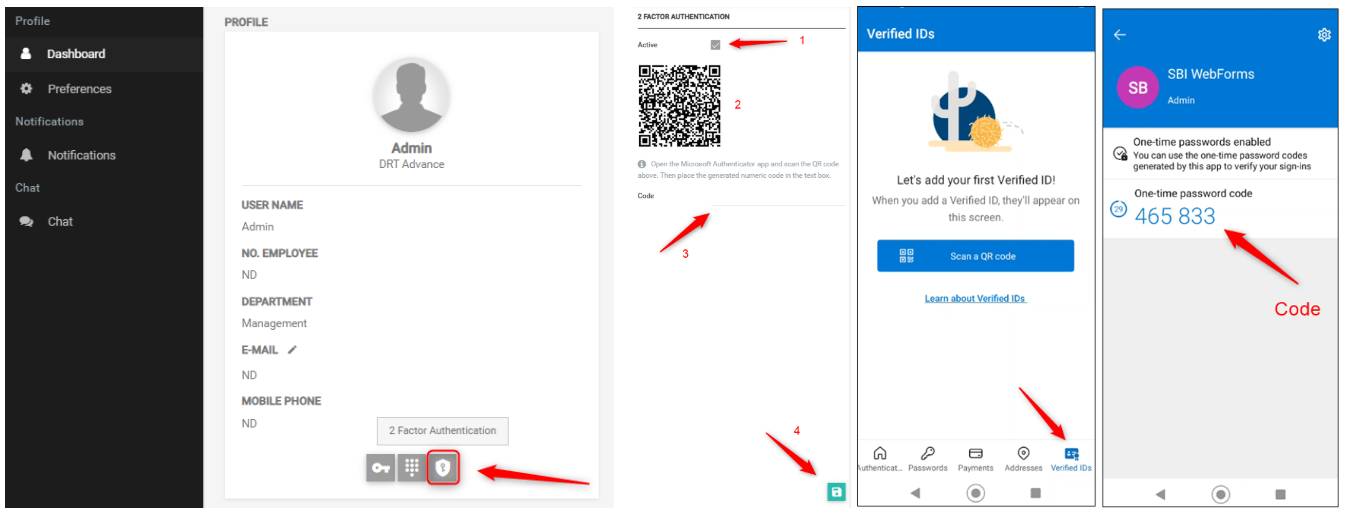
After saving, you will need to enter the code generated by the Authenticator app each time you log in to SBI.

00. General tips – Change password and manage notifications
  • In the user’s personal area it is possible to change the password, email and manage notifications;
  • Notifications can be received on SBI Web, email or mobile application (push).


00. General tips – Search
  • In the bottom right corner it allows us to search for information found on the screen we are using;
  • At the top of the page, on all screens, there is a search bar that allows us to search for Customers/Leads, NBO and Opportunities

00. General tips – Filters
  • You can apply filters to the page as needed (1).
  • You can even save the screen filters, meaning that everytime you check this screen, it will be filtered accordingly (2).
  • If you want to delete the saved filters, the screen will no longer have saved filters when you enter (3)

00. General tips – History

Every object has an “history”. Whenever something is added, changed or deleted, that action is recorded: who did it, when it was done and what was done.

00. General tips – Export

On every screen you can download the list of the objets (like it appears on the left side of the central screen). Usually, the information exported is the object code and description.

00. General tips – Chat

For all customers/leads, contacts, NBO and opportunities there is an associated chat. You can trade messages, attach files or even identify users via “@”

00. General tips – Default Values

It is possible choose default values for the obligatory fields of the object you are creating. As soon as a new Customer/Lead or a new opportunity is created, the obligatory fields will be already filled with information.

00. General tips – Document type

In some cases, when attaching a document to an object, it is necessary to associate a “document type”. To add more types of documents, you need to access the administration tables.

01. Customers/leads/prospects – Create a lead/client

After clicking on the button to create a lead, you can add any information necessary.

At this moment, and in the future, you don’t have the option to create clients on SBI, only leads.

01. Customers/leads/prospects – Manage permissions

Depending on the user permissions, someone might not have permissions to see an object. With this option you can give those user permissions to see the object.


01. Customers/leads/prospects – Add an interaction
  • You can insert various types of interactions (Notes, Email, Interactions, Meetings, Schedule task)
  • All pending interactions are on the right side of the page. Once these interactions change their status to “Executed”, they move to the left side of the page
01. Customers/leads/prospects – Attach a file

Like it was previousley said, it’s necessary to associate a “document type” to the file.

01. Customers/leads/prospects – Data field configuration

To configure the data fields indicated below, you need to access the administration tables of the CRM (you can only access them if you have specific permissions)

02. Interactions – Different ways to use the interaction screen
  • You can view all interactions by day, week or month;
  • You can apply different types of filters;
  • On this page you can add any type of interaction.
03. Contacts – Different ways to use the contacts screen
  • On the contacts screen it is possible to add new contacts, any type of interactions relating to the contacts and opportunities where the contact is associated to it;
  • For each contact it is possible to attach files;
  • For each contact, there is an associated chat.


04. NBO – Different ways to use the NBO screen
  • On the NBO screen it is possible to add all types of interactions and opportunities associated to the selected NBO;
  • For each NBO, it is possible to attach files, and there is an associated chat;
  • For each NBO, it is possible to manage permissions to access them, similar to what was explained for the clients/leads.
05. Opportunities – Different ways to use the opportunities screen
  • You can add any type of interactions and  TSN;
  • For each opportunity, it is possible to attach files, and there is an associated chat;
  • For each opportunity, it is possible to manage permissions to access them, similar to what was explained for the clients/leads.
  • It is possible to copy and cancel opportunities.

05. Opportunities – TSN

The total potential value of the opportunity corresponds to the sum of the value of each TSN times the repetition.


05. Opportunities – Report

To see the report associated with opportunities, that presents some information about the lead/client, the NBO associated to the opportunity and the opportunity itself, alongside the list of TSN associated to that opportunity. You can then download the report for your pc (this report it’s still a work in progress, and we are still checking with Paulo Vilaça all the necessary changes).

06. Pipelines – Pipeline screen
  • On the Pipeline page it is possible to check different pipelines;
  • By selecting the opportunity and dragging with the mouse, it is possible to change the step of the opportunity.
06. Pipelines – Add a pipeline

On this page you can create Pipelines and their respective steps. For each step, it’s necessary to associate a percentage (you can consider this percentage has the percentage of conclusion of the opportunity) and you can select users to be notified, everytime an opportunity reach a specific step inside that pipeline.

07. Documentation – Templates

In this screen you can attach some files, and it might be used to gather files that are commonly used by the users of SBI, like commercial presentations or brochures. For each file, you can associate an experitation date and a document type.

08. Administration tables – Data fields

There are lots of data fields on the CRM that need configuration. To edit these fields you will need a specific permission (WARNING: these changes can affect the system in a negative way. If you have doubts about what to do, you should contact a member of the Advance team ; since this is a demo version for the SBI CRM, on the final version there are some fields that might not appear)


08. Administration tables – G-KAM and LKAM-PM

The users available to be selected has “G-KAM” for a brand or has a “LKAM-PM” for an opportunity or the users selected to be on a specific “team”. These teams are on the “Team Management” screen, in the admnistration tables of “Manager” module (since there are different “teams” on the SBI, they will appear on this screen, and cannot be hidden. Only interact with the teams identified here ; only users with permission can access this screen).